How to Stitch Clean Appliqué in 6 Simple Steps
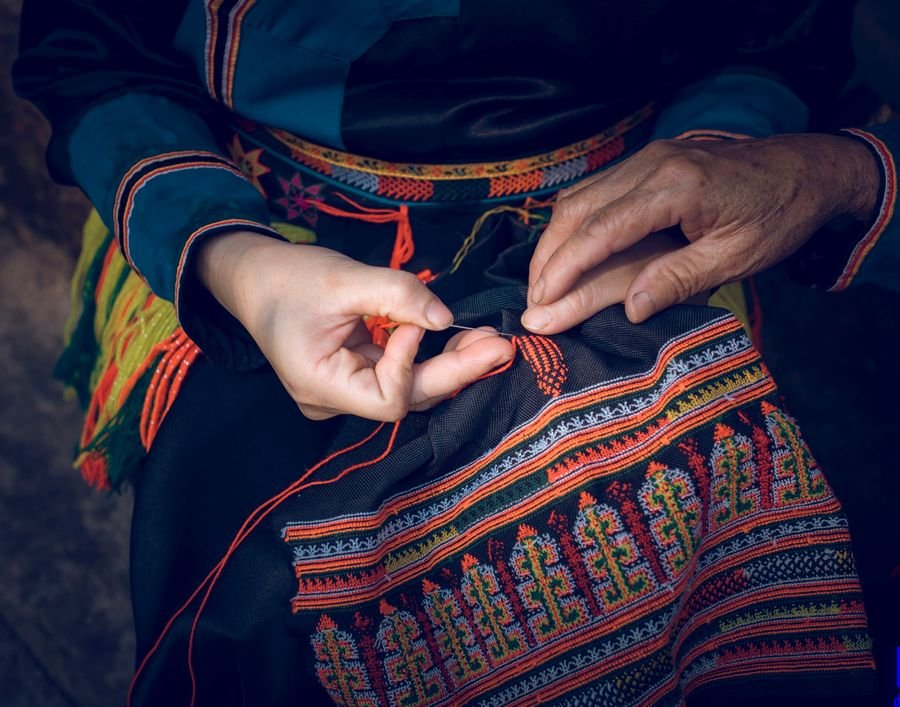
Appliqué adds fabric and texture to embroidery, but a sloppy tack-down or frayed edge spoils the whole design. Follow these six steps for crisp results every time.
What you’ll need
- An appliqué design (all our appliqué files include placement, tack-down and finish steps)
- Base fabric hooped with cut-away stabiliser
- Appliqué fabric, ideally backed with fusible web
- Sharp appliqué scissors
The six steps
1. Placement line. The machine stitches an outline showing exactly where the fabric goes. Don’t skip it.
2. Lay the fabric. Cover the outline generously and let the machine stitch the tack-down.
3. Trim close. Remove the hoop (not the fabric) and trim right up to the tack-down stitches.
4. Tack-down. Re-run to secure the raw edge.
5. Satin border. A dense satin stitch covers the edge for that finished look.
6. Details. Final top-stitching and accents complete the design.
New to formats? Read PES vs DST, or browse the full design collection.
Related guides
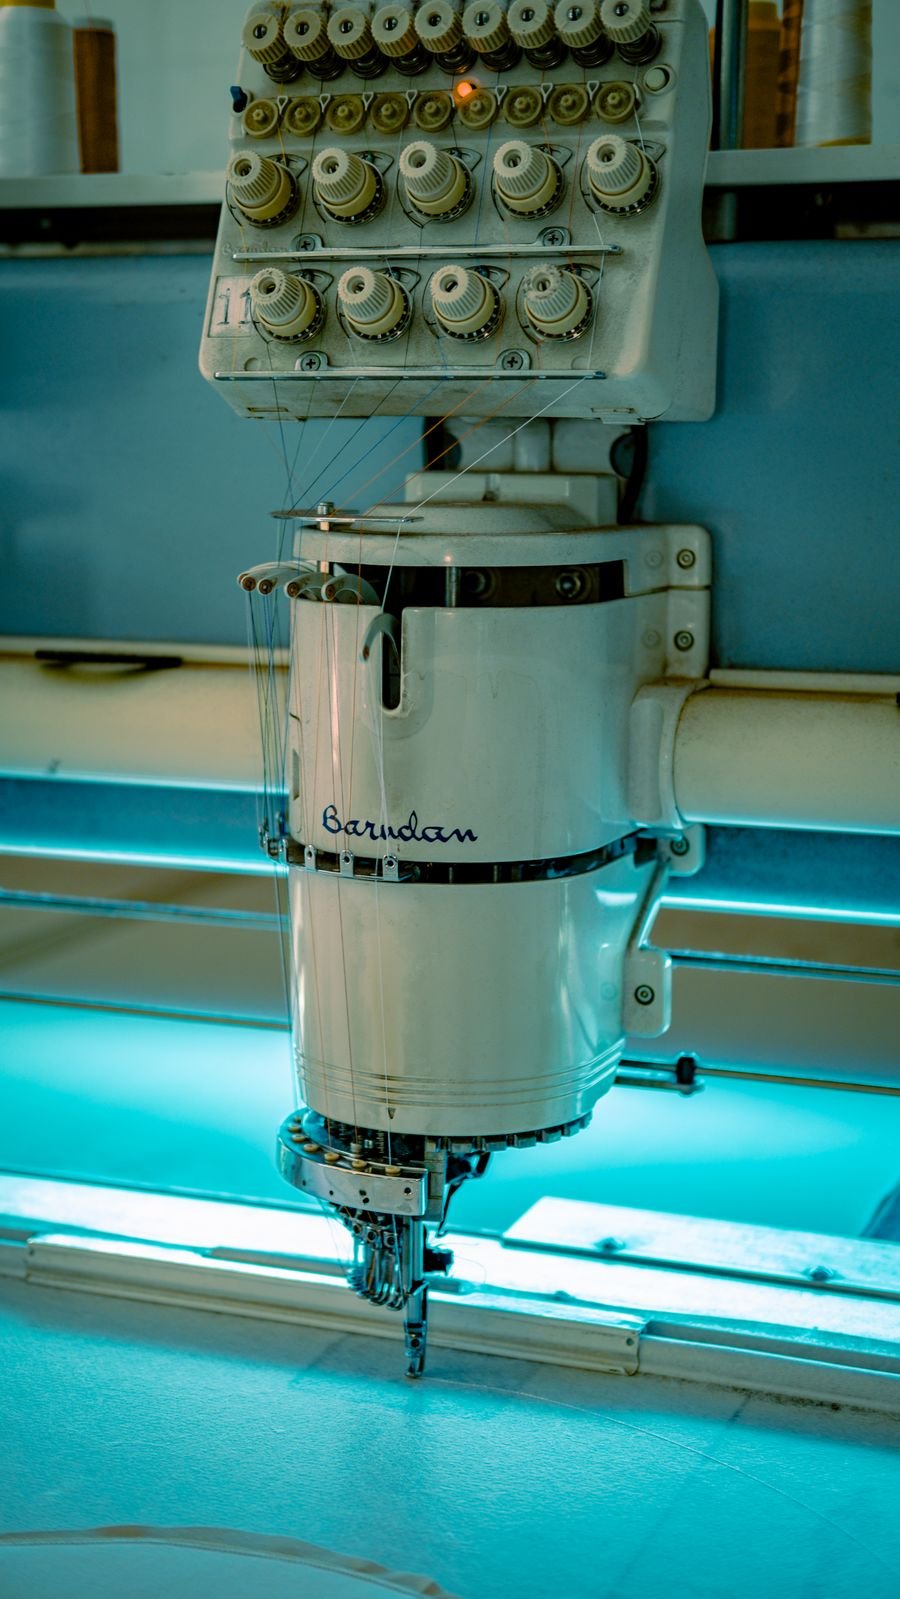
PES vs DST: Which Embroidery Format Do You Actually Need?
A plain-English breakdown of PES, DST, JEF and the other machine embroidery formats, and how to pick the right file for your machine.
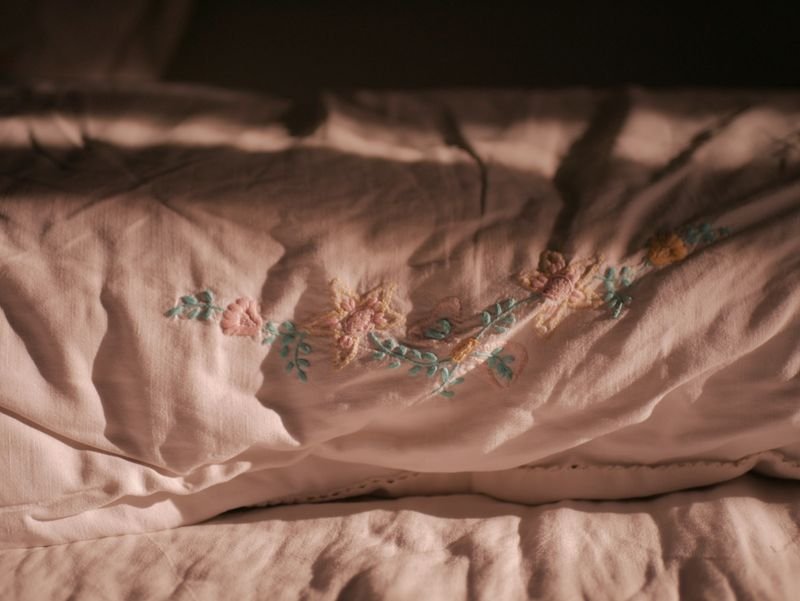
15 Best Floral Embroidery Designs to Stitch in 2026
Our most-loved botanical machine embroidery styles for 2026, with hoop sizes and thread suggestions.
Embroidery Stabiliser Basics: Cut-Away vs Tear-Away vs Wash-Away
Which embroidery backing to use for tees, towels, caps and delicate fabrics, explained simply.
Ready to find your next design?
Browse the full hand-digitized collection and check out securely on Etsy.